As companies shift more to working from home and remote workforces, having a secure client portal is an easy and secure way to share and collaborate on sensitive documents. Clients can sign in to their own branded and secure workspace directly from your website, providing a simple and secure way to send and receive documents.
Creating a client portal is easy and cost-effective and can save you and your clients time and money. Onehub makes creating a customized client portal easy with step-by-step instructions.
A Client Portal Is Easy To Create With These Instructions
Step 1 – Customize your Workspaces
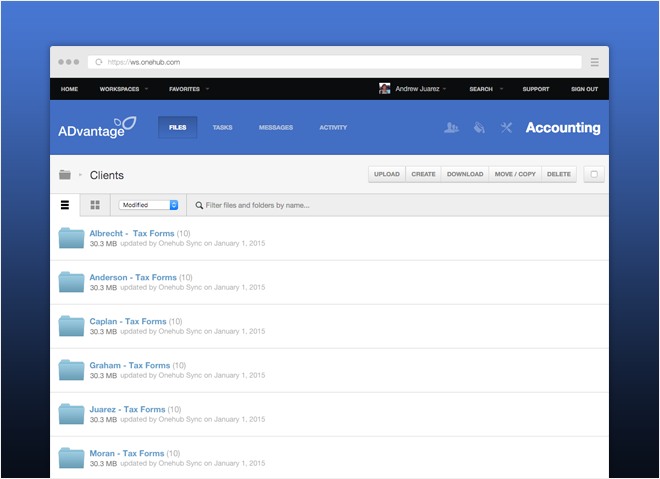
Onehub’s branding tools allow you to give your Workspaces your business’s look and feel. Upload your logo and change the colors exactly as you want them so your business collaboration reflects your business.
Step 2 – Adjust your permissions
Does everyone you share information in the client portal with need the same level of access and interaction? Onehub lets you assign role-based permissions such as “Viewer,” “Printer,” and “Collaborator” to specific files and folders. Setting the right permissions allows you to invite more free users rather than adding paid ones to your account. You can also take advantage of our secure links to share files without requiring the user to have a Onehub account.
Step 3 – Use our communication tools
Simplify interactions with Onehub’s tasks and commenting features. Assign clients with an “Approve” or “Review” task to give them specific directives around materials. Let them know they can add comments alongside files so you can unify communication in Onehub rather than splintering notes off into their own email threads.
Step 4 – Set up a sign in form
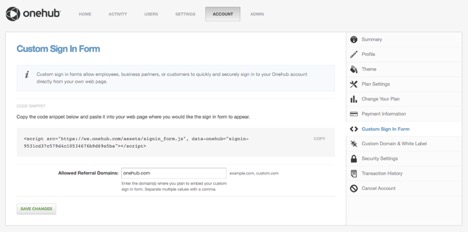
With a client portal, you can allow clients to sign into and access shared Onehub files with our embeddable sign-in forms that you can insert directly into your business’s web page. To create a form, visit your Account Settings > Custom Sign In Form. Enter your preferred domains, generate the code snippet and paste into your site.
Step 5 – Add white labeling and custom domain mapping
To give your clients the full client portal experience, add our white labeling and custom domain feature. White labeling removes all the Onehub logos from your business collaboration through us, so clients will only ever encounter your firm branding. And with custom domain mapping, all your business file collaboration goes onto a site that you control. It’s a seamless user experience!
If you are a Onehub customer, our support team can help you create a client portal in no time. If you are interested in becoming a Onehub customer, you can contact our sales team for more information, or try us out for free!
You may also like